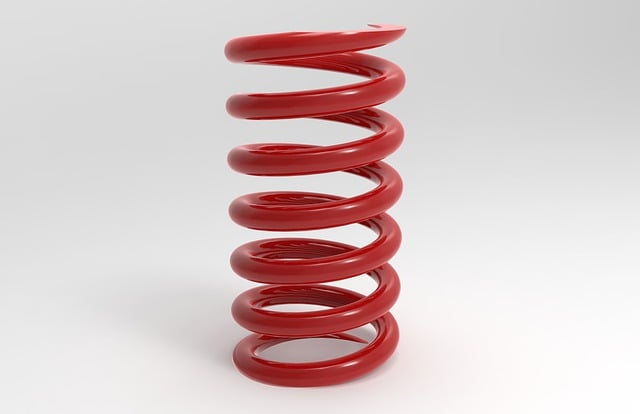
Spring upgrades can redefine your car’s handling and performance. Whether you’re looking to lower your vehicle for a sleeker profile, or looking to improve its handling capabilities, installing new springs is an intricate process that needs careful attention to detail. In this article, we’ll provide a step-by-step guide on how to install car springs.
Disclaimer: Installing car springs involves working with the vehicle’s suspension system and it can be dangerous if not done correctly. It requires a good understanding of automotive repair and proper safety precautions. If you are unsure about performing this task, please consult with a professional mechanic from the automotive coil spring manufacturers UK.
Tools and Materials Needed
To start, make sure you have the following tools and materials:
- Jack and a set of jack stands
- Lug wrench
- Coil spring compressor
- Ratchet and socket set
- Wrench set
- New car springs (specific to your vehicle model)
- Safety glasses and gloves
- Owner’s manual for torque specifications
Steps for Installing Car Springs
Step 1: Prepare the Vehicle
Park your car on a level surface to ensure stability during the procedure. Use the lug wrench to loosen the lug nuts on the wheels (do not remove them completely). Then use the jack to lift the car off the ground and secure it with jack stands. Now you can remove the wheels.
Step 2: Remove the Existing Springs
You’ll need to access the current springs, which are part of the strut assembly. Depending on the vehicle, you may need to remove parts such as the brake line or sway bar link from the strut.
Loosen the bolts at the top and bottom of the strut assembly. Carefully remove the entire strut assembly from the vehicle and set it aside on a workbench.
Step 3: Compress the Old Springs
Using a coil spring compressor, compress the old springs. This can be a dangerous step as the spring is under tension. Always wear your safety glasses and follow the instructions for the spring compressor to avoid injury.
Once compressed, remove the top nut of the strut assembly to release the spring. Take off the spring compressor and remove the old spring.
Step 4: Install the New Springs
Before installation, compare the old springs to the new springs to ensure they’re identical in specifications, aside from any intended height or performance differences.
Place the new spring onto the strut and use the spring compressor to compress it. Make sure it’s seated correctly against the strut base. Reinstall the strut cap and the top nut. Once you’re certain everything is aligned, slowly release the tension on the spring compressor until the new spring is supporting its own tension.
Step 5: Reassemble the Strut Assembly
With the new spring installed, bring the strut assembly back to the vehicle and reattach it. Again, refer to the owner’s manual for the correct torque specifications when tightening the bolts.
Reattach any additional parts you removed during disassembly, such as the brake line or sway bar link.
Step 6: Reattach the Wheels
Lift the car slightly to remove the jack stands and then lower the vehicle back to the ground. Replace the wheels and tighten the lug nuts by hand. Once the car is on the ground, use the lug wrench to finish tightening the nuts to the correct torque specification.
Step 7: Test the Vehicle
With the new springs installed, it’s crucial to test your vehicle. Start with a slow drive in an empty parking lot, checking for any noises or instability. Then, gradually build up to normal driving conditions, making sure the handling feels right.
Conclusion
Installing new car springs can be a rewarding project that improves the look and performance of your vehicle. However, it’s a task that carries some risk and requires precision. If properly equipped, experienced, and confident in your abilities, following these steps will help you securely install new springs. If you’re hesitant at any stage, don’t risk it—consult with a professional mechanic.
Remember, after altering your car’s suspension, it’s advisable to have a wheel alignment performed by a qualified service centre. This will keep your ride smooth and your tyres wearing evenly after your spring installation.

